Plastering Made Simple: Step-by-Step Overview for Beginners
Plastering Made Simple: Step-by-Step Overview for Beginners
Blog Article
A Comprehensive Guide to Mastering Plastering Skills for Your Remodelling Needs
Important Tools and Products
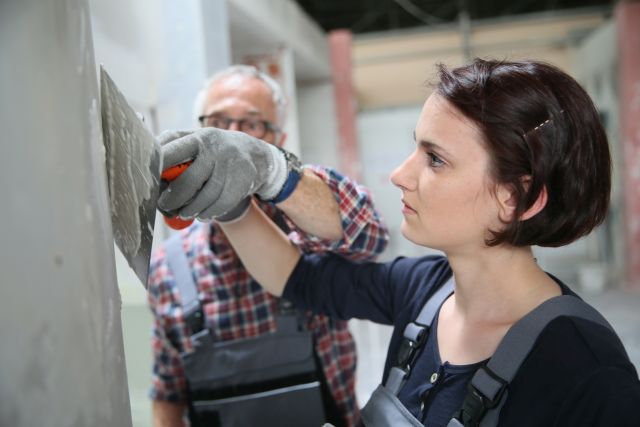
Numerous necessary tools serve distinct functions, guaranteeing effectiveness and precision throughout the plastering procedure. A high-quality trowel, for circumstances, is essential for smoothing and applying plaster, while a hawk provides a stable platform for holding the product.
Along with devices, picking the right plastering materials is crucial. Gypsum-based plasters are generally preferred for their adaptability and simplicity of usage, while cement-based options are suitable for outside applications due to their durability. Water and bonding representatives play substantial roles in achieving correct consistency and attachment, making sure that the plaster adheres effectively to the surface area.
Additionally, protective gear such as masks, goggles, and gloves is necessary to secure against dust and irritability during the application procedure. By constructing the ideal mix of devices and products, plasterers can improve their skill collection and generate premium finishes, inevitably elevating the overall workmanship of their work.
Preparing Surface Areas for Gluing
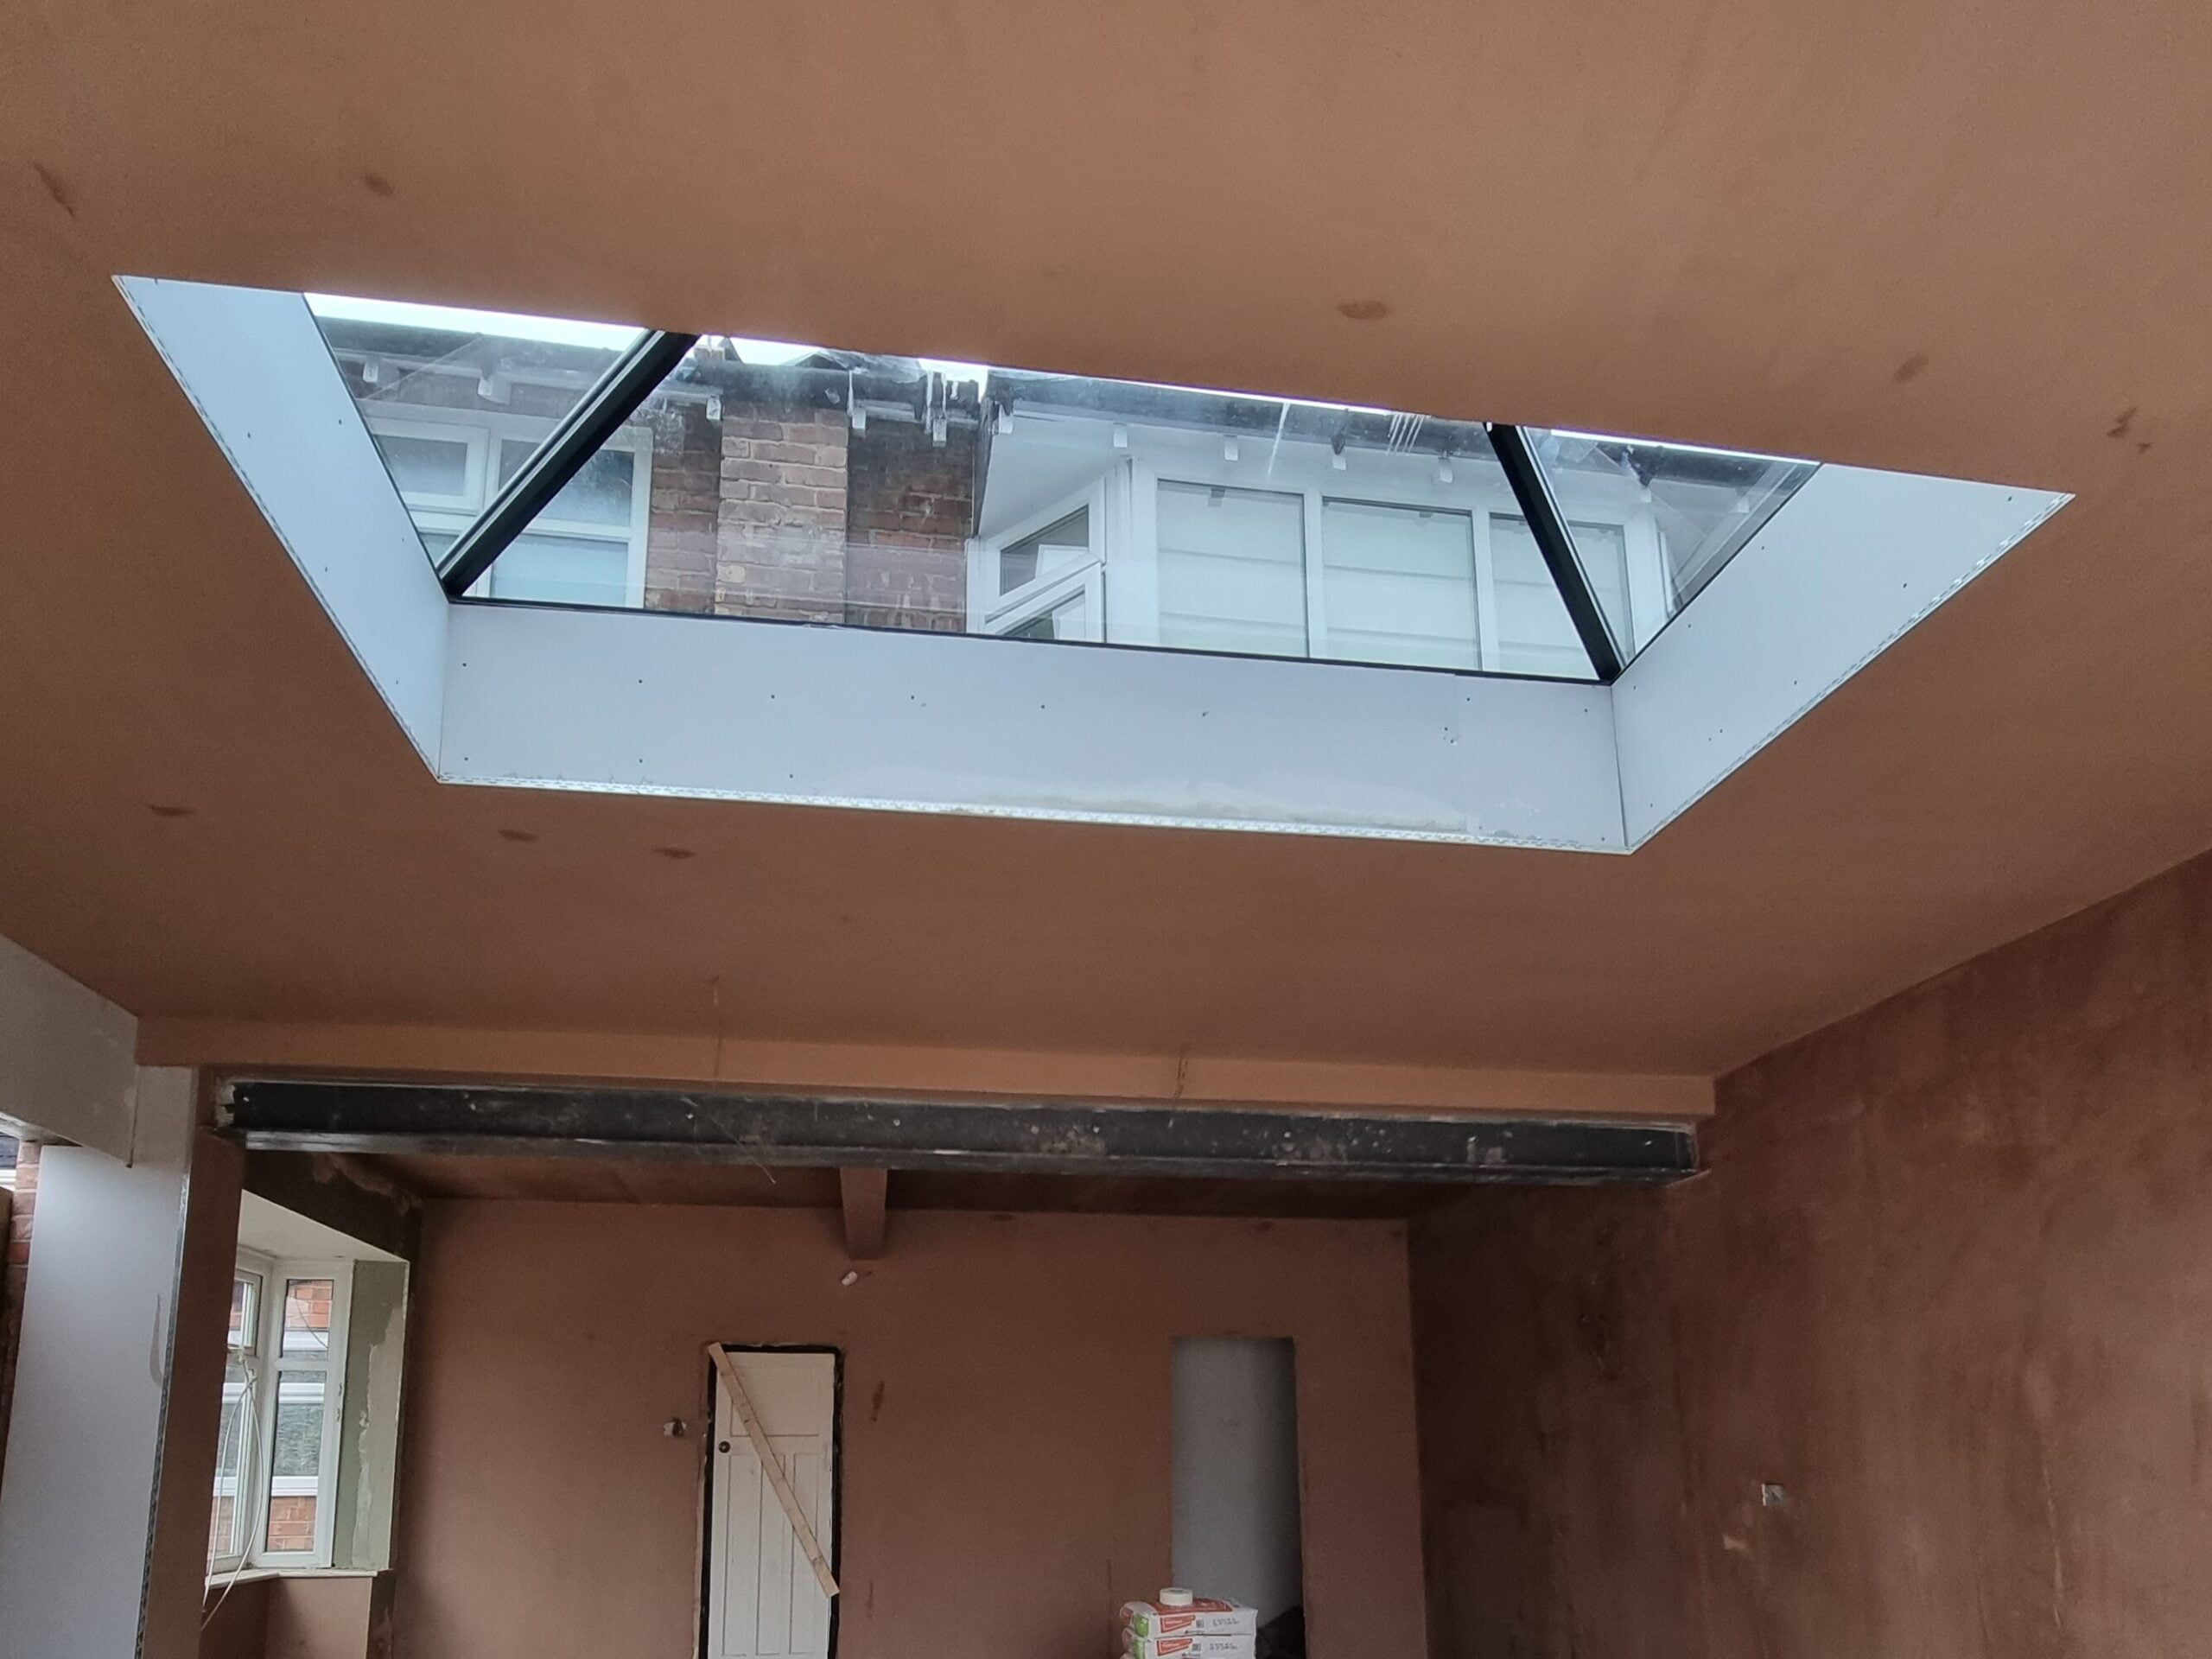
Achieving a durable and smooth plaster finish begins with meticulous preparation of the surfaces to be plastered. This foundational step is important to making certain attachment and the long life of the plaster. Beginning by analyzing the problem of the substratum-- whether it is masonry, drywall, or concrete-- eliminating any type of loose paint, dirt, or debris that may disrupt bonding.
Following, repair any type of imperfections such as cracks or openings. Utilize a suitable filler to achieve a degree surface area; this can be vital for protecting against future problems. When repaired, ensure the surface area is tidy and dry, as dampness can jeopardize plaster adherence.
For porous surface areas, it is a good idea to apply a bonding agent. This item improves adhesion and creates a reputable interface in between the plaster and substratum. If collaborating with previously plastered surface areas, it might be required to scuff or sand the location lightly to offer a key for the brand-new plaster layer.
Gluing Methods and Tips
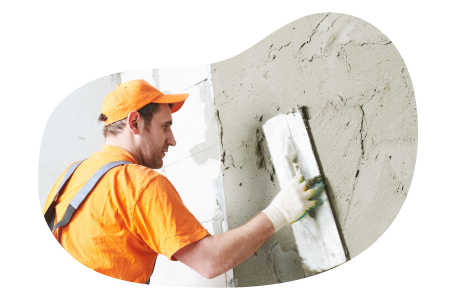
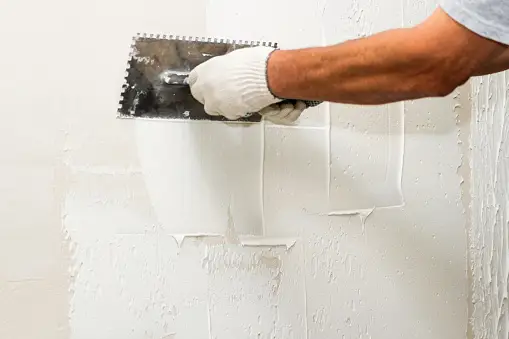
Mastering plastering techniques requires both ability and technique to attain a remarkable surface. One essential method is the application of the plaster in several thin layers, instead of a solitary thick coat. This method permits for much better adhesion and reduces the risk of fracturing. Begin with a skim coat, guaranteeing it is uniformly spread and leveled with a hawk and trowel. Use a straightedge to check for any type of blemishes before relocating on to subsequent layers.
When using the finish coat, utilize a shoveling technique that involves holding the trowel at a minor angle and operating in a circular movement. This assists to develop a smooth surface area and decreases the look of trowel marks. In addition, maintain a spray bottle of water useful to mist the surface area gently; this maintains the plaster workable and enables smoother completing.
Timing is vital; work efficiently, as the plaster begins to set. When the plaster has actually tightened yet is still wet, use a damp sponge to gently smooth the surface even more. Finally, permit ample drying out time prior to fining sand or painting, guaranteeing your hard work results in a professional, top notch coating.
Usual Blunders to Stay Clear Of
An additional usual error is using plaster too thickly. Overzealous applications can lead to breaking and prolonged drying times. It's necessary to apply plaster in thin, even layers, enabling each coat to dry sufficiently before including a lot more.
In addition, not utilizing the right devices can prevent the top quality of the coating. Making use of unacceptable trowels or mixers can develop variances in the smudging procedure. Constantly go with high-quality tools made for plastering jobs.
Last but not least, many individuals ignore the importance of timing. Functioning in unsuitable temperatures or humidity levels can detrimentally influence plaster treating and drying. It is advisable to examine climate conditions and adapt your schedule as necessary.
Completing Touches for a Professional Appearance
The lasts of a plastering task are important for accomplishing a refined, professional look. Once the plaster has actually dried sufficiently, the next action is to examine the surface for blemishes. Minor bumps, openings, or unequal locations must be attended to utilizing great sandpaper or a sanding block. This meticulous interest to detail is necessary for making sure a smooth finish.
After sanding, it's suggested to clean up the surface to eliminate any kind of dust and particles. see this page A wet cloth is reliable for this objective, adhered to by a detailed drying duration. If essential, applying a thin layer of ending up plaster can boost the surface area further, supplying a smooth finish.
Once the completing plaster is completely dry, an additional round of sanding more helpful hints might be called for to achieve the preferred smoothness. Ultimately, consider applying a primer before paint or wallpapering, which will certainly enhance adhesion and longevity.
Conclusion
Grasping gluing abilities dramatically improves the high quality of improvement projects. A comprehensive understanding of necessary devices, surface area prep work, and reliable techniques is essential for accomplishing expert outcomes. Understanding of typical errors permits the evasion of pricey errors, while attention to finishing touches ensures a polished appearance. Ultimately, the integration of these elements contributes to the development of smooth, resilient surfaces that elevate the aesthetic value of any space, highlighting the value of skillful plastering in home improvement undertakings.
Water and bonding representatives play considerable duties in accomplishing proper uniformity and adhesion, making sure that the plaster sticks effectively to the surface area. Plastering.
Additionally, maintain a spray bottle of water convenient to mist the surface area lightly; this maintains the plaster convenient and allows for smoother ending up. (Plastering)
If required, using a thin layer of ending up plaster why not find out more can improve the surface area additionally, providing a smooth surface.
Report this page